I meant to take pictures as I worked, but I forgot! Next time!
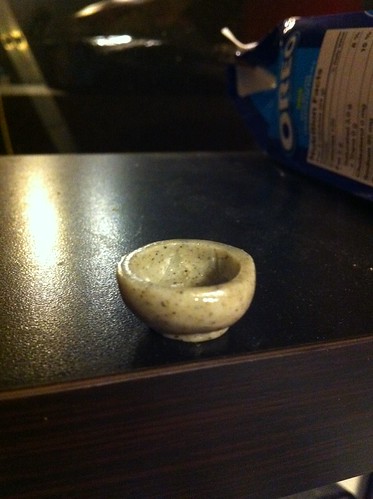
I followed Talty's Polymer Clay Bowl Tutorial, and the results were pretty good. The bowl is a bit lopsided, has an uneven rim and some air bubbles on the inside. I'll have to remember to make sure the clay is flush against the marble, next time.
My first time working with clay was pretty fun. I used Primo Accents. I don't have a point of reference to work from, but it seemed easy enough to condition. I had to start over, though, once I realized there was no way I would be able to get the marble out and the bottom had been squished. This was my second attempt.
I hadn't assembled everything I needed initially, and I had to snag some cardboard pieces to make sure the clay had an even thickness. I also forgot to lotion my hands and dig out some sandpaper. ^__^;;
Baking the clay was easy. I purchased a new toaster oven for my mom and abducted the old one. Since the Kitchen is a pretty well ventilated area, and I was worried about fumes if I overbaked, I just set it up on the stove. Primo bakes at 275F for 30 minutes per 1/4th inch thickness, so I baked the bowl first for 10 minutes, and then when I realized it was still a bit soft I gave it another 5.
I used the Gloss Glaze, which air dries. It's instructions were more detailed than the Satin Glaze. When the bowl was cool I quickly sanded it and applied one layer. I'm not sure what I'll use it for, yet, but it's the perfect size for my Pukifees!
No comments:
Post a Comment