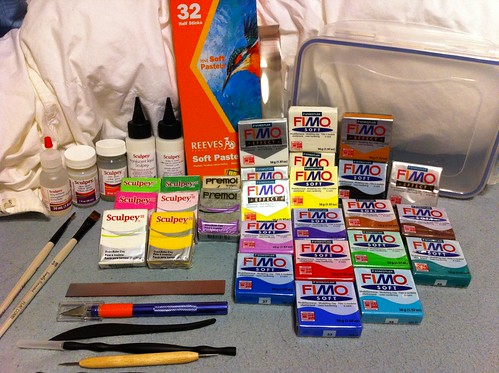
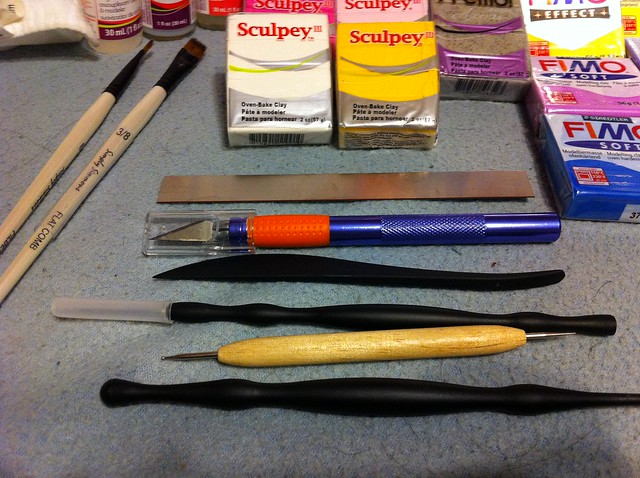
The following is a list of what I'm starting out with! It seems like kind of a lot, right now, but with the considerable shipping delay I experience when ordering from the internet I figured it couldn't hurt. Plus, Michaels (craft store) had an awesome 2 for $3 deal on polymer clay.
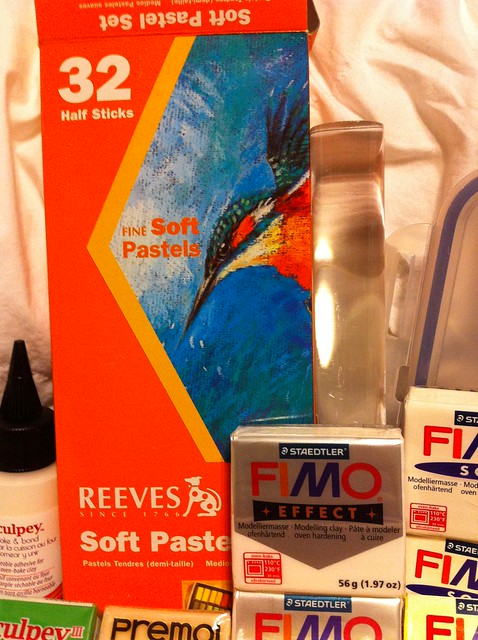
As a bonus it all fits in one container... except the pastels. Oh well.
The Clays:
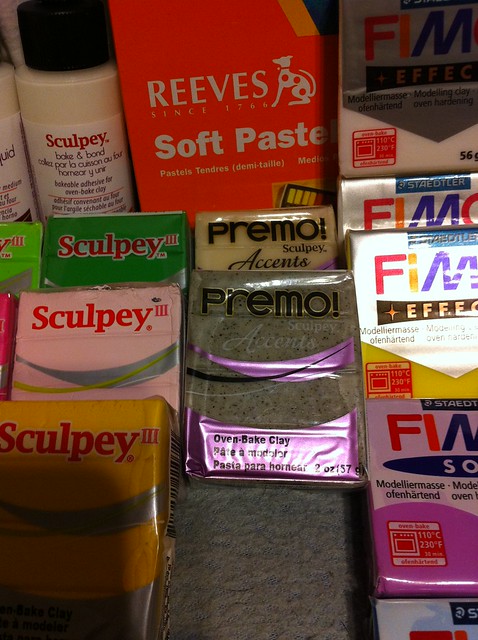
FIMO
My dominant choice for clay is Fimo, as you can clearly see. I did research, and for the most part Fimo seems to be generally preferred. I think I've got all my bases covered as far as colors go. (If you're curious, I list the colors on
my Flickr.) But it's not the only brand I purchased...
Sculpey Primo Accents
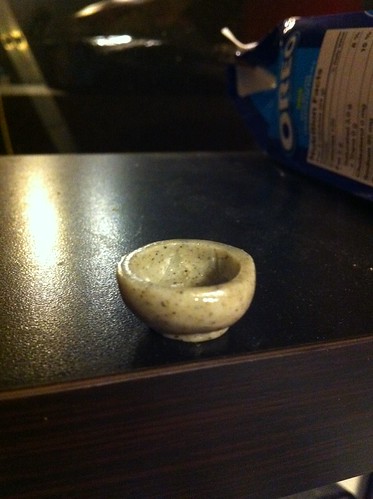
I only really snagged the Transparent so I could compare it to Fimo's, but I got the Grey Granite so I could possibly try making one or two plates/bowls. It would give me a chance to test the two glazes I bought...
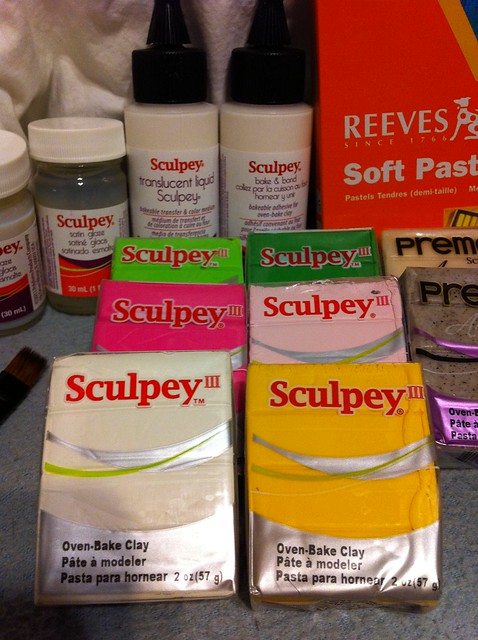
SculpeyIII
I chose colors that seemed somewhat unrepresented amongst my Fimo clays, like a lighter green and a solid yellow. And white, for comparison with Fimo's white. They feel a bit smooshy in the packaging, so we'll see how well they work. (Color List on
my Flickr)
The Liquids:
Clay Softener
I don't imagine I'll need too much of this, especially at first, since I don't plan on letting my clay dry out! I'm sure it has other uses, and it's better to have it and not need it than need it and not have it!
Gloss Glaze & Satin Glaze
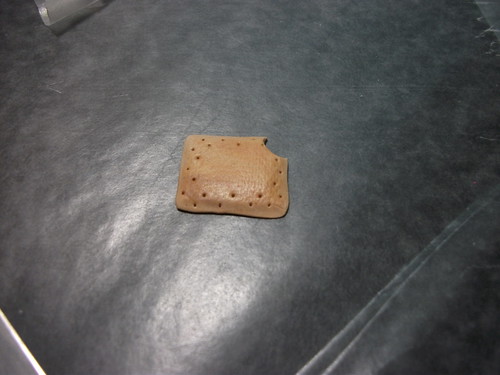
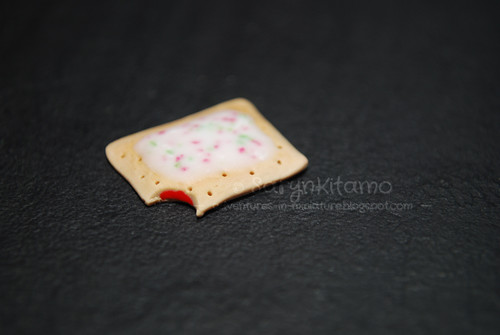
I know I'll be using the gloss, especially if I attempt Snowfern Clover's Eclair tutorial. As mentioned previously, I'll probably make something especially unimpressive using a bit of the Grey Granite clay and use that to compare the results of the two glazes.
Translucent Liquid Sculpey
I actually have the Fimo DecoGel fighing it's way through Canada Post but, again, I wanted to compare the results of Sculpey and Fimo. I read somewhere that the Sculpey is slightly less translucent than it's Fimo cousin.
Bake & Bond
From what I understand, this works much in the same way as the TLS/DecoGel does. I bought it anyway.
The Tools:
Brushes
Predominantly for the application of glazes, but also to add color texture using pastels! Two seemed like enough to start with and paint brushes are one of the few things I
can buy where I live.
Tissue Blade
So glad I got the last one! I don't relish the thought of having to search Nanaimo for one. This flexible blade should come in useful for even slicing and dicing. If not, I've got a few razor blades and...
Xacto Knife
Useful for pretty much every craft I can think of. Seems like it'd be good for precision cutting.
Sculpey Tool Set
These are the black items at the bottom of the picture. Various double-ended tools for cutting, poking, texturing and smoothing. Nice little set, but I'm curious about how well they'll work with the clay.
Embossing Pointer
Not something I initially intended on getting, but the narrow ball-tipped points struck me as something that could be extremely useful if I ever get ambitious and try to make blueberries or something. It looks like a tool that could add very fine detail without being all needle-pointed.
The Miscellaneous:
Soft Pastels
These should come in handy for adding a bit of color to the TLS/DecoGel
or adding texture detail.
Roller
Ah, so important. Gotta get that clay smooth and flat SOMEHOW!