Wednesday, 14 December 2011

Ch-Ch-Ch-Cherries

My friend Amy (aka Alogue) wants me to make some more Christmas cookies. Only this time she requested a specific KIND. They're a shortbread or sugar cookies with a bit of maraschino cherry on it. Well in order to do that I felt I had to make some cherries. This is a first for me, but the mechanics of it seemed simple enough!


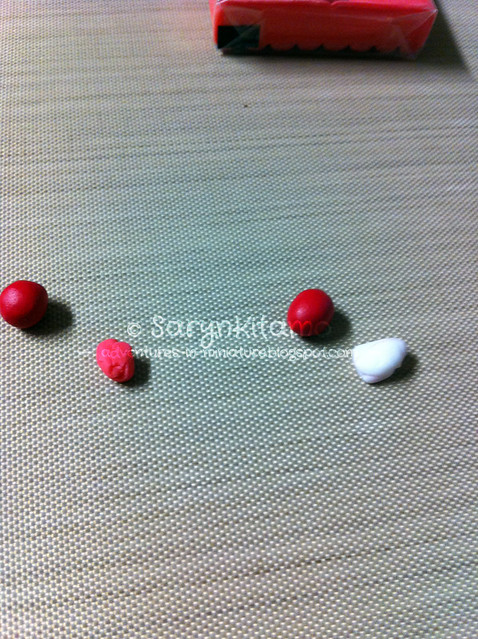
Since I wasn't sure if my translucent red would make a sufficiently 'cherry' color, I decided to experiment. I mixed some cherry red with some translucent red, and some cherry red with some translucent white.


And got virtually the same result.


To get an evenly sized thickness, I pushed the clay through a metal nozzle tip from a cake decorating set and slices to roughly uniform sizes.
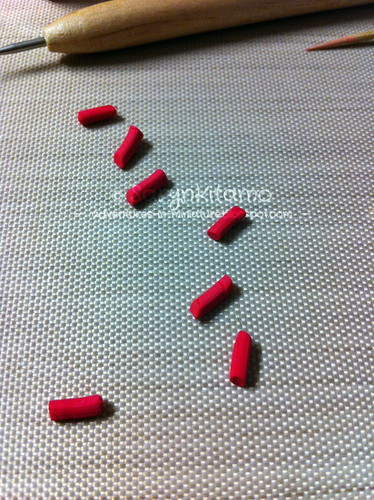

I did about a dozen of the tiny ones before I decided I'd make some larger ones too. I rolled them and poked them with my ball-ended needle to get the right look to them.
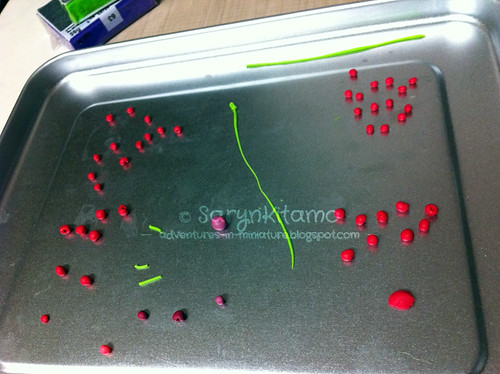

I think this was after they came out of the oven. There's some thin green clay strips for the stems (and for sprinkles for other projects). I also rolled a cherry just from translucent red clay (which, incidentally, is pretty much the color of glazed cherries... V_V) and some from purple and red clay... and then a plum - which turned out pretty good! - from the leftovers.


I think the end result was pretty good, don't you? I didn't stem them all, but I did do a few...
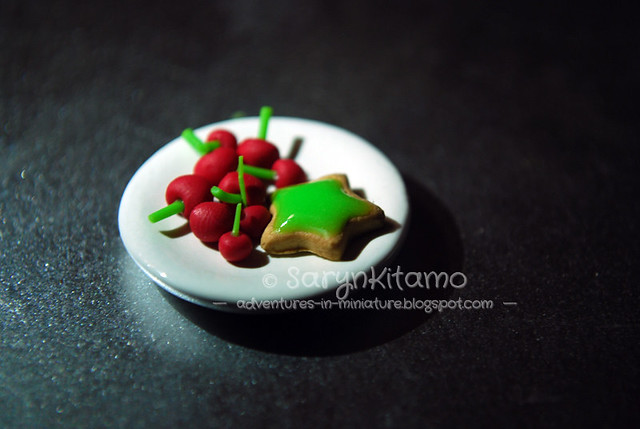

Just a little gloss and those cherries will be perfect.

Tuesday, 6 December 2011

Santa Claus Is Coming To Town

You would think I have that song stuck in my head right now, but you'd be wrong. Instead I've got Shots by LMFAO stuck in there, because my Canucks rocked it in Rogers Arena tonight. Puts me in such a good mood!

But you can't ignore the fact that Christmas is approaching! Some places even have snow! (But not Vancouver, which is fine with me!) Normally my Mom would've started her Christmas baking by now. Since I'm no longer living at home, I decided I needed to do some Christmas baking of my own.


Sugar cookies have to be my all-time favorite cookie. When made properly they practically melt on the tongue. And you can put all sorts of decorations on top, like icing and mini ball bearings.


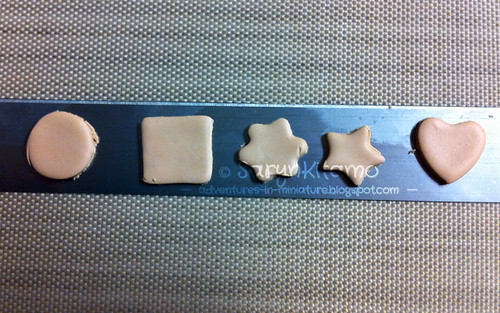
I followed another tutorial, this one from DeviantArt. In the picture above you can see my new (and overpriced) Sculpey mat that I bought from Michaels the other day. Thus far it seems to be worth the cost, and it's nice to have a little spot beside me to work from. These were cut out using some mini-sized clay cutters. I found it much easier to apply the pastel to the cookies while they were resting on the blade.


I mixed brown, yellow and orange pastel to get the brown color, but next time I'll add a little white to lighten it up. The cookies look burnt! But no less tasty.


My Fairyland Littlefee Leah agrees!


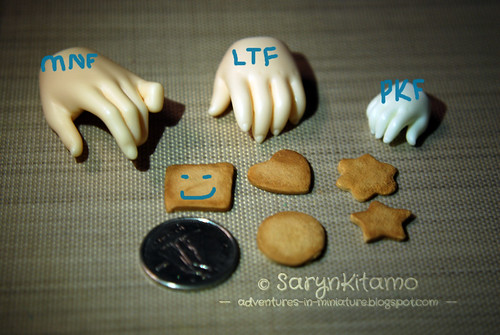
A picture showing scale was requested. I think these would be best for Littlefee/YOSD or Minifee/MSD sized dolls, but what Pukifee doesn't love a giant cookie?

With my clay station set up beside my desk, it should be easier for me to work on projects on a more regular basis. I actually worked on the sugar cookies with a small audience in the Minifee TinyChat. I'll probably do this more often, and if people are interested enough in watching maybe I'll set a specific day or time to work.

<3 Saryn

Tuesday, 29 November 2011

Silicone Mold (Part 1)

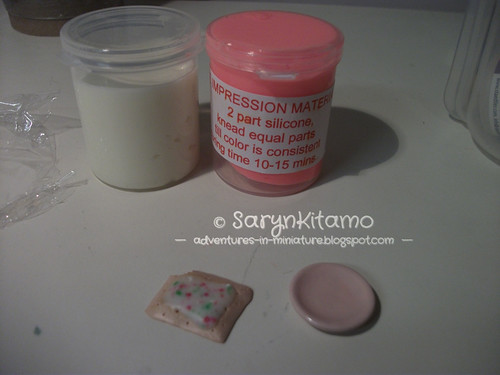
Since I don't really have the space set up to do normal clay work, I figured I'd finally break out the silicone mold for it's first test run. This was the stuff I from my long-awaited clay order. There is no brand on the containers, and only the simplest of instructions. I'm not sure if this is normal or not.


Between the plate and the pop tart, I went with the latter for my first test, though in hindsight I probably should've used the blank base I made expressly for this purpose. Oh well. I needed something that, on the off chance things went sideways, I wouldn't mind throwing out.


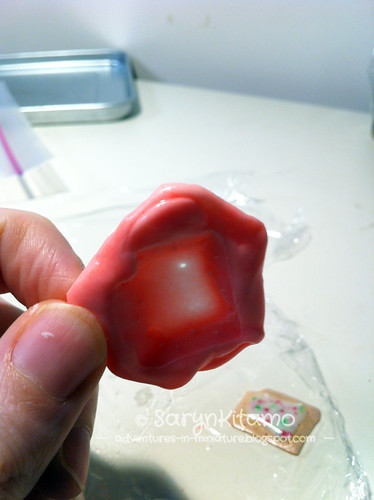
Note to self: stop using P&S camera. The silicone comes in two parts which set up when mixed together. The substance has an oddly oily texture, and no discernible scent. Reminds me of the goo jars I used to buy as a kid. I mixed the two together as instructed, but with 'oily' fingers, wasn't about to touch my camera.


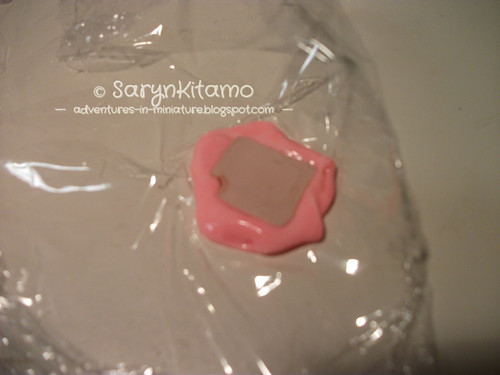
I popped my object into the goo, and went off to work on this post.


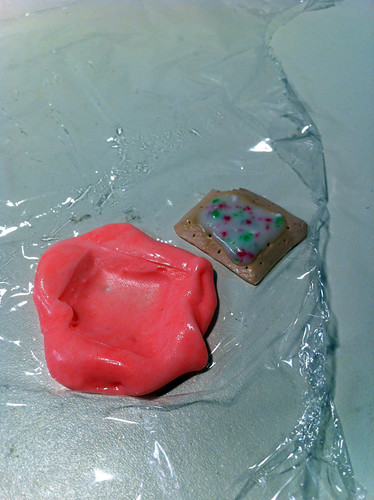
Yay for iPhone camera! I probably should've used a bit more silicone, or not pushed down so hard since it wound up being a bit thin. :\


I think I'm gonna stop by the local Michaels and see what they have for molding material, just for comparison's sake, but my next blog post will be Part 2, where I actually use clay in the mold! GASP!