Wednesday, 29 May 2013

The Prodigal Daughter Returns

Boy has it been a long time since I last posted. Over a year...

Oops!

I really didn't mean to take such an extended hiatus. I've had a lot of things change in the last year, mostly for the good. Most importantly I managed to get out of my aunt and uncle's house and into my own place.

And then I got a boyfriend and moved him in. ^__^

I've had more interest in working with clay lately so expect to see a little more around here. I also got my hands on some Grace Clay that I'm just dying to try out!

Here's a little of what I got up to today (before my camera battery died).

Chicken Soup

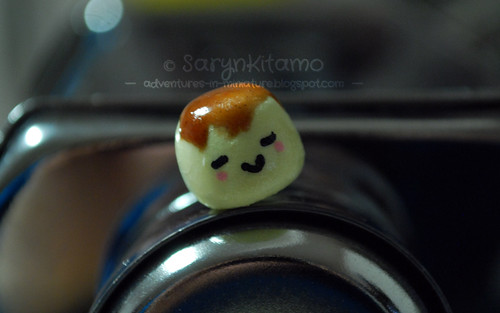
Milk & Cookies

I also have a Tumblr Blog, which I think I may be a little more active on since I'm on Tumblr daily. If you're interested, please have a look over at Adventures In Miniature - Tumblr Version

Friday, 11 May 2012

Puddi Puddi Puddi

So it's been quite a few months since my last post, and I seriously apologize for that. I had a lot of real-life stuff come up and I haven't really felt like doing any miniature work in awhile.

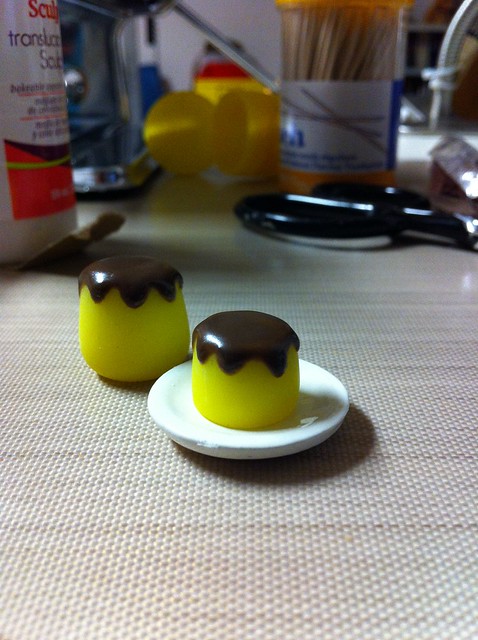
Yesterday I was contacted by one of the boys from the local BJD group, who wanted to commission a pair of YO-SD sized puddings. So I cleared off my desk and got to work!


I think they turned out pretty good. Plus, posting it on the BJD's facebook group got someone else interested in getting one. So I might be making more of these in the future.

I'm not sure when my next blog post will be, but check back soon!

Thursday, 8 March 2012

Updates Will Resume

Got my final class tonight, so expect updates to resume next week. ^__^

Sorry for the delay!

Wednesday, 1 February 2012

Pudding

Well at long last I finally have myself a shiny, new clay roller! I haven't used it yet, since I only just got it today. I meant to, but... well... I couldn't figure out what to make so I spent most of the night looking up tutorials and other inspiration.


I also picked up some air-dry clay. Unfortunately I didn't research air-dry clay at all beforehand, and didn't realize that not all air-dry clays are created equal. It was something of an impulse buy, anyway, since I know Snowfern works with air-dry clay. I'm betting she uses resin clay, though. Instead of paperclay, like I bought.

Anyway. I followed another simple tutorial to make some cute puddings using Delight air-dry clay.

The results were... mixed. I didn't let the clay dry completely before I put the pudding-sauce on top, nor did I wait until it was completely dry to gloss it. But I learned that the clay takes acrylic paint really well, both mixed into it and painted on. One of the puddings turned out better than the other...


Monday, 30 January 2012

Rock Candy

Wee! Between job hunting, work and all the other stuff I've been up to lately I obviously haven't had the time to post, or do anything related to clay! BUT tonight I had the time!

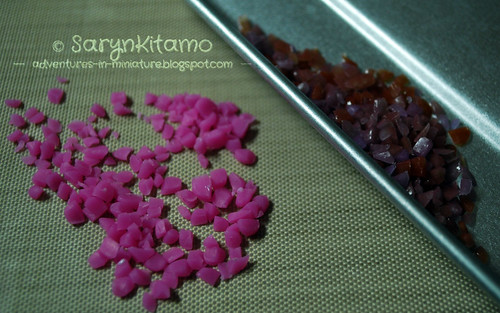
I found another tutorial, once again on DeviantArt, to do rock candy! It's been awhile since I had any myself, but I figured I'd give it a shot. I was aiming for SD-sized, since I've got a set of Delf hands on loan. Not entirely sure I succeeded, but at least it's reasonably close to the size.

Anyway...

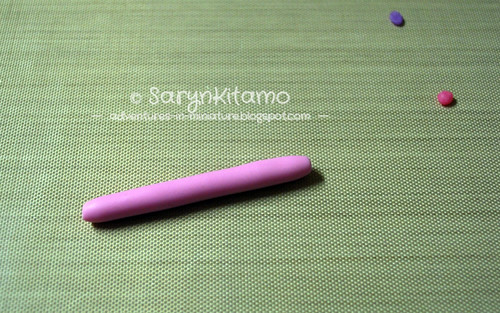
My intention was to do two, pink for MSD and purple for SD.


Up in the top right corner are the color tests I did. I added a bit more translucent, but the color turned out pretty close.


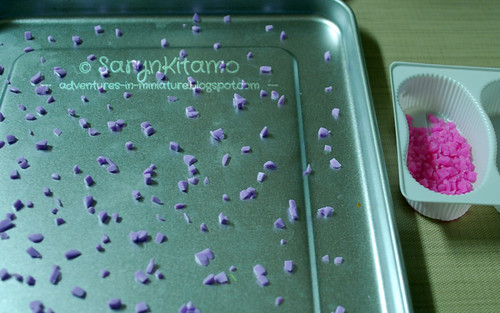
Not gonna lie, this step was a pain in the ass. These purple hadn't been cooked yet, but the pink was all ready!


Close up!


But I burned the purple. Which is a first for me. It wasn't that I left it too long, it's that I popped it into the toaster oven before the clay had reached temperature. Le-sigh!

 
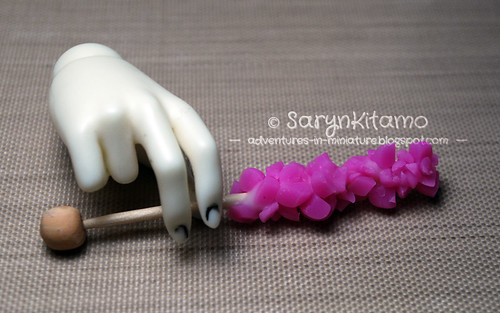
The pink turned out pretty good, though. This is the finished rock candy with a Minifee hand.


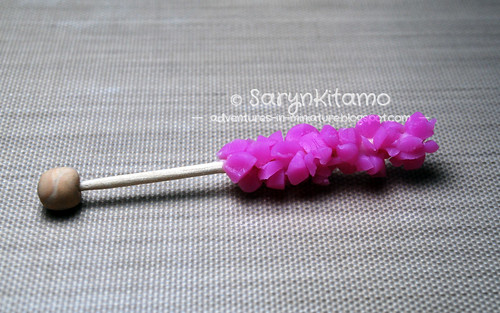
And with a Delf hand.


I also discovered that the uncooked polymer clay I had in a Jelly Belly package has melted tiny holes in the plastic. Much to my amusement.

Tuesday, 3 January 2012

Poptarts - The Not-So-Triumphant Return

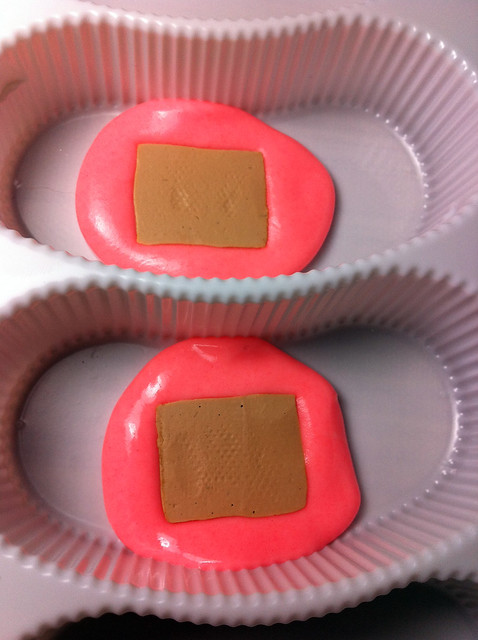
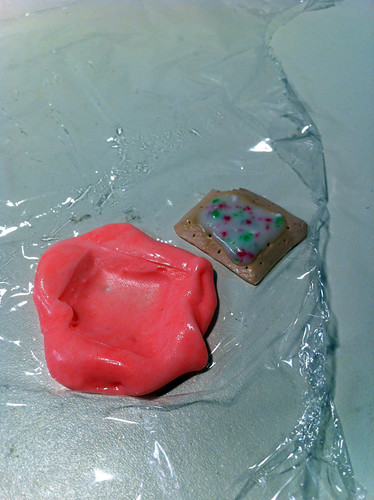
I was gonna do a blog about how I finally did more poptarts and am actually HAPPY with the result, so I made molds of them and they worked...


Except the molds didn't work!

I'm not sure if I pushed them in too far or what but the molds aren't turning out like I expected. :(

Anyone happen to have an idea what I might've overlooked?

Wednesday, 14 December 2011

Ch-Ch-Ch-Cherries

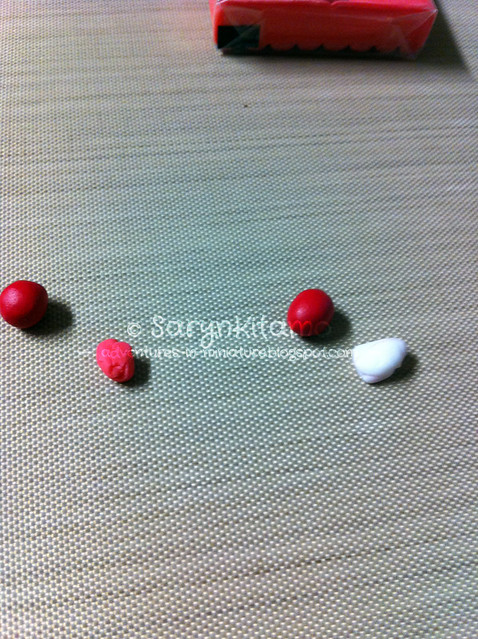
My friend Amy (aka Alogue) wants me to make some more Christmas cookies. Only this time she requested a specific KIND. They're a shortbread or sugar cookies with a bit of maraschino cherry on it. Well in order to do that I felt I had to make some cherries. This is a first for me, but the mechanics of it seemed simple enough!


Since I wasn't sure if my translucent red would make a sufficiently 'cherry' color, I decided to experiment. I mixed some cherry red with some translucent red, and some cherry red with some translucent white.


And got virtually the same result.


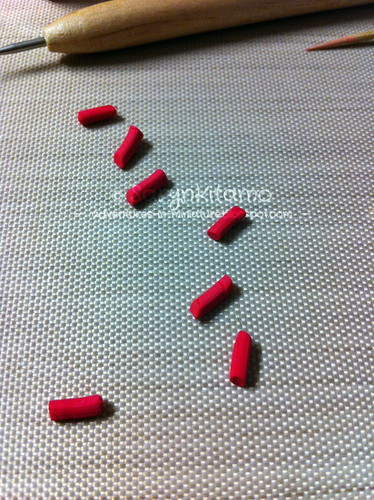
To get an evenly sized thickness, I pushed the clay through a metal nozzle tip from a cake decorating set and slices to roughly uniform sizes.


I did about a dozen of the tiny ones before I decided I'd make some larger ones too. I rolled them and poked them with my ball-ended needle to get the right look to them.


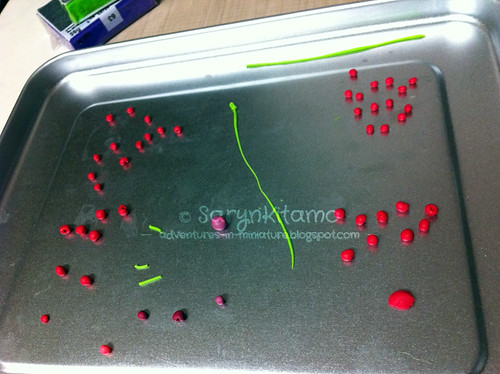
I think this was after they came out of the oven. There's some thin green clay strips for the stems (and for sprinkles for other projects). I also rolled a cherry just from translucent red clay (which, incidentally, is pretty much the color of glazed cherries... V_V) and some from purple and red clay... and then a plum - which turned out pretty good! - from the leftovers.


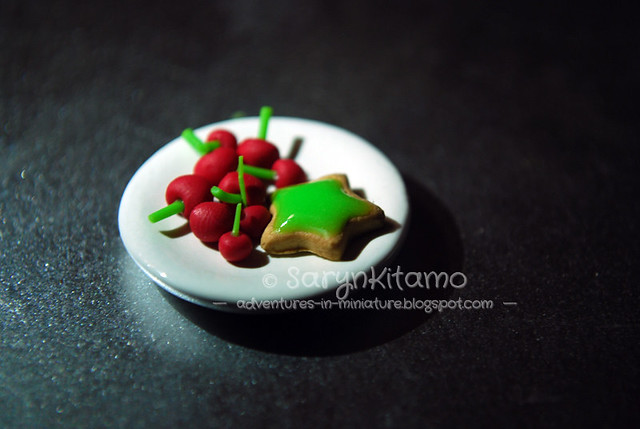
I think the end result was pretty good, don't you? I didn't stem them all, but I did do a few...


Just a little gloss and those cherries will be perfect.

Tuesday, 6 December 2011

Santa Claus Is Coming To Town

You would think I have that song stuck in my head right now, but you'd be wrong. Instead I've got Shots by LMFAO stuck in there, because my Canucks rocked it in Rogers Arena tonight. Puts me in such a good mood!

But you can't ignore the fact that Christmas is approaching! Some places even have snow! (But not Vancouver, which is fine with me!) Normally my Mom would've started her Christmas baking by now. Since I'm no longer living at home, I decided I needed to do some Christmas baking of my own.


Sugar cookies have to be my all-time favorite cookie. When made properly they practically melt on the tongue. And you can put all sorts of decorations on top, like icing and mini ball bearings.


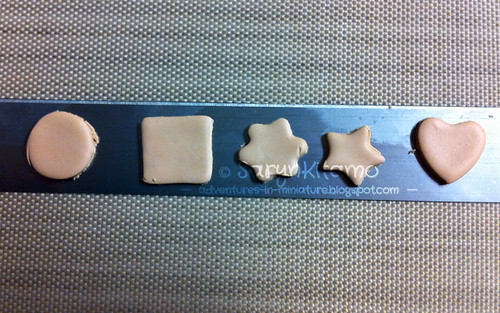
I followed another tutorial, this one from DeviantArt. In the picture above you can see my new (and overpriced) Sculpey mat that I bought from Michaels the other day. Thus far it seems to be worth the cost, and it's nice to have a little spot beside me to work from. These were cut out using some mini-sized clay cutters. I found it much easier to apply the pastel to the cookies while they were resting on the blade.


I mixed brown, yellow and orange pastel to get the brown color, but next time I'll add a little white to lighten it up. The cookies look burnt! But no less tasty.


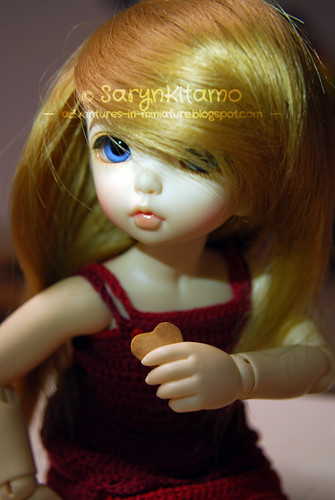
My Fairyland Littlefee Leah agrees!


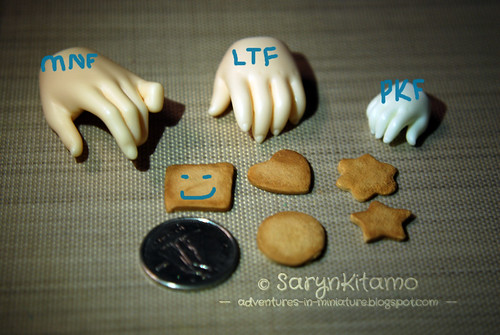
A picture showing scale was requested. I think these would be best for Littlefee/YOSD or Minifee/MSD sized dolls, but what Pukifee doesn't love a giant cookie?

With my clay station set up beside my desk, it should be easier for me to work on projects on a more regular basis. I actually worked on the sugar cookies with a small audience in the Minifee TinyChat. I'll probably do this more often, and if people are interested enough in watching maybe I'll set a specific day or time to work.

<3 Saryn

Tuesday, 29 November 2011

Silicone Mold (Part 1)

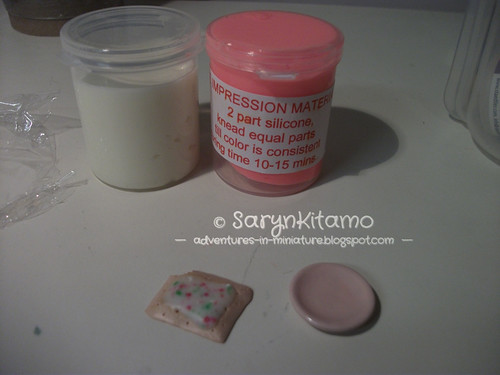
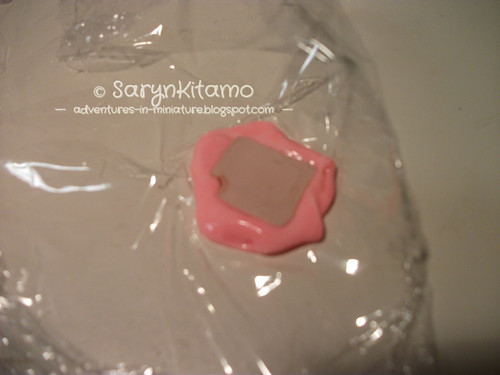
Since I don't really have the space set up to do normal clay work, I figured I'd finally break out the silicone mold for it's first test run. This was the stuff I from my long-awaited clay order. There is no brand on the containers, and only the simplest of instructions. I'm not sure if this is normal or not.


Between the plate and the pop tart, I went with the latter for my first test, though in hindsight I probably should've used the blank base I made expressly for this purpose. Oh well. I needed something that, on the off chance things went sideways, I wouldn't mind throwing out.


Note to self: stop using P&S camera. The silicone comes in two parts which set up when mixed together. The substance has an oddly oily texture, and no discernible scent. Reminds me of the goo jars I used to buy as a kid. I mixed the two together as instructed, but with 'oily' fingers, wasn't about to touch my camera.


I popped my object into the goo, and went off to work on this post.


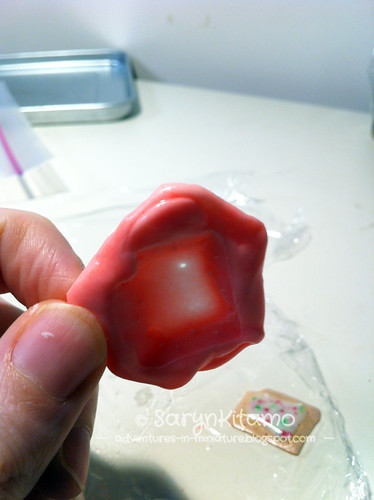
Yay for iPhone camera! I probably should've used a bit more silicone, or not pushed down so hard since it wound up being a bit thin. :\


I think I'm gonna stop by the local Michaels and see what they have for molding material, just for comparison's sake, but my next blog post will be Part 2, where I actually use clay in the mold! GASP!

Wednesday, 16 November 2011

Moving

Like I mentioned in a previous post, I'm going to be moving in the next week or so. Since my clay stuff is already safely packed away for the drive to Vancouver, I'm afraid I'm going to have to put the blog on a two-week hiatus!

Updates will resume November 29th.

Thursday, 10 November 2011

Order Get!

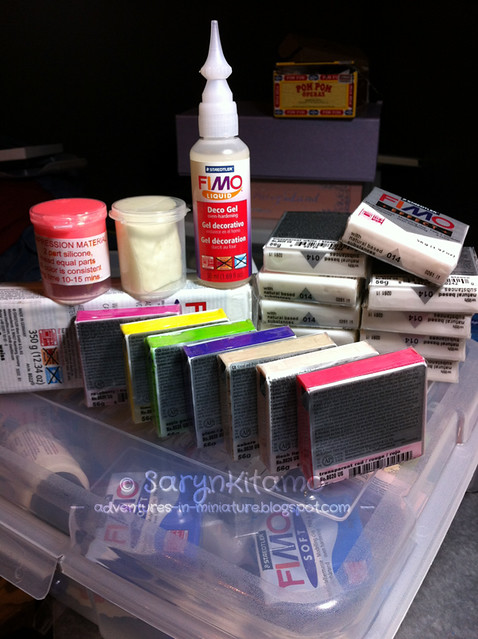
The much delayed order has arrived! New colors, my silicone mold material, a chunk of white and WAY too many translucent white! XD


I honestly don't recommend dealing with Polymer Clay Central in Damascus, MD. This order was placed September 29th. I didn't get any replies to the two emails I sent in early October, was told October 20th that my order would ship the same day (they had apparently been waiting on the Translucent White), and when I emailed them from my second account the other day.

They told me my order was shipped Oct 28th and gave me a tracking number that I doubt is for me, since it's most recent update was just the other day and it was in Jamaica, NY. Fortunately I'll be moving to Vancouver soon and will be able to get supplies much easier!

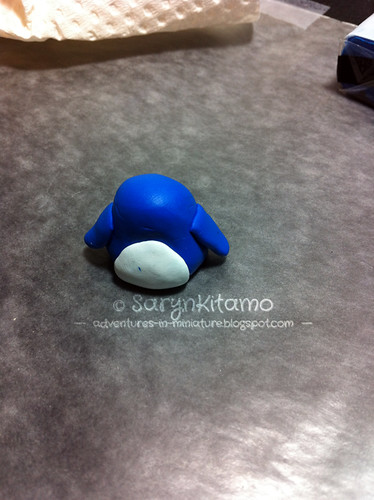
Fat Penguin

Sorry for the lack of updates last week. I kept hoping that package would arrive so I could make some molds of my poptarts but once again nothing! I emailed them yesterday and it turns out it was shipped on Oct 28th. At least now I have a tracking number for it.

But it looks like it won't arrive until after I move to Vancouver! Which I'll be doing in the next two weeks. I'm quite excited, for various reasons... but clay-related? I shouldn't need to order my clay from unreliable online stores! YAY!

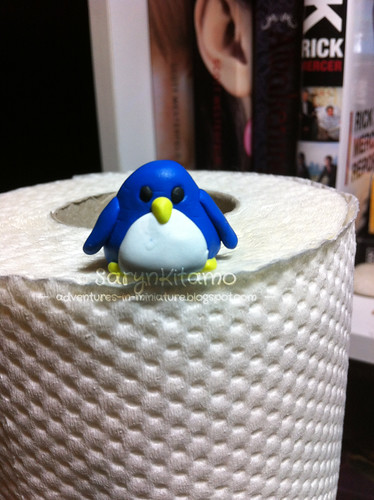
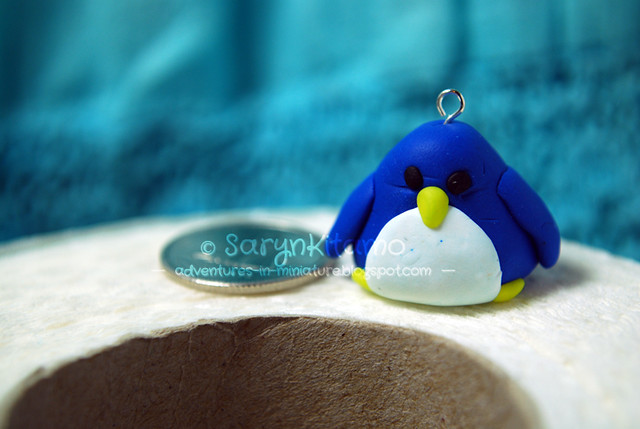
I wanted to make something tonight but I didn't really feel like making any mini-food. I decided to make a little charm instead! I found yet another tutorial on DeviantArt. I seriously love penguins, so this was right up my alley. All of the following pictures are taken with my iPhone, which is less fussy than my Nikon in the low-light of my room!

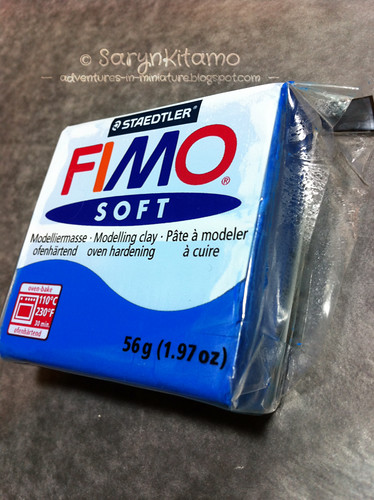
I have two blue Fimo, Pacific Blue and Brilliant Blue. I chose the former, since it seemed a bit bolder.


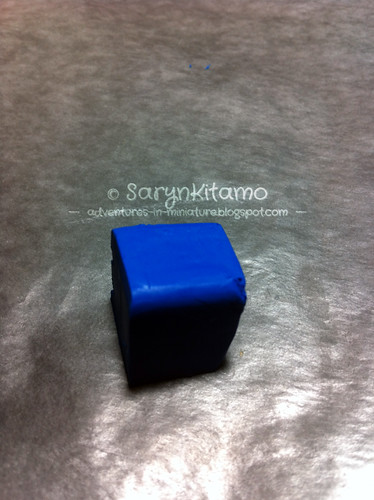
I chopped off a fair-sized chunk, larger than I tend to work with for my miniatures.


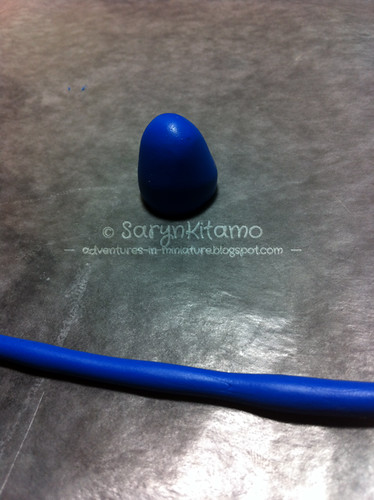
And then shaped it as instructed. I thought about going WILD AND CRAZY, but that would mess with the Penguinuity (which is now a word) of it.


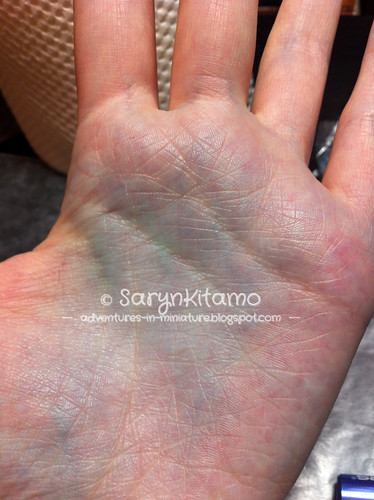
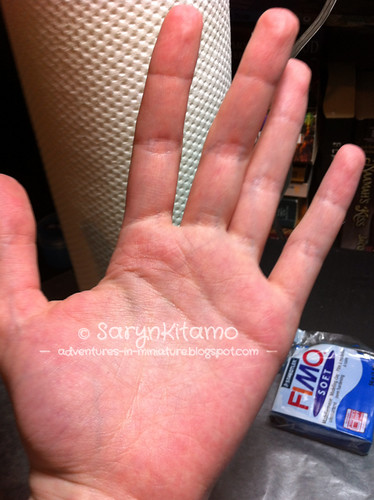
I don't recall my hand being this blue...


After a bit of scrubbing, my hand returned to it's normal, not Na'vi color. Translucent white.


You can see the little flecks of STUFF (probably blue Fimo.) in the white, unfortunately. That stuff is disturbingly difficult to keep clean. I swear that just looking at it funny makes it all speckley. This was before I gave him his beak, feet and eyes. I didn't have any black beads on hand so I had to improvise with a bit of black Fimo.


And just before the little man spent his time in the oven! I can see why they recommend beads.


I'll have to glaze him later since he's still a bit warm. But my fat little Penguin is complete!


Sunday, 30 October 2011

Delayed Post is!

Bit of a delay on this post, I know. X_x I've had a bit of a stressful week and have had to figure a few things out before I could make an adult-ish decision.

I will most likely be relocating in the next couple weeks, moving from my small town to the big city. I'm not sure how much of an impact this will have on my clay work, but there are craft stores galore down there and I'll be able to get the supplies I need without a 3-4 week shipping wait!

In the meantime, I should have a few stress-free days amidst the packing to do some clay work. If you have any easy-ish ideas of what I can try to make, please let me know!

Thursday, 20 October 2011

┬─┬ノ( º _ ºノ)

(╯°□°)╯︵ ┻━┻

Tired of waiting, I just phoned the online store I put my clay order in at.

They haven't shipped it yet.

Apparently they were waiting on the... 10 2oz blocks of Translucent I ordered (I guess I know why they didn't have single ones available).


*head-desk*

Anyone have any ideas for what to do with 20oz of translucent Fimo?

Peanut Butter Chocolate Cookie

My order still hasn't arrived, much to my frustration. Neither, incidentally, have I received the plates I ordered from Etsy on the same day. Did CanadaPost go on strike again and no one told me? Le-sigh.

Knowing my luck, it'll all come in tomorrow.

I was searching Deviant Art for tutorials, and came across this Mini-Cookies tutorial by MarieMonAmour so I decided to give it a shot.


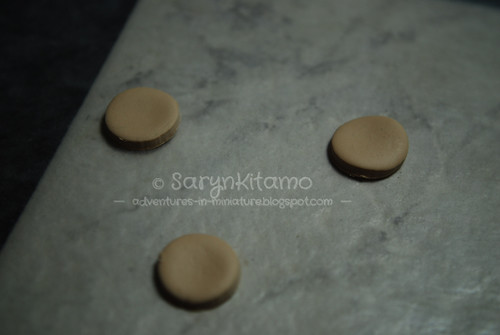
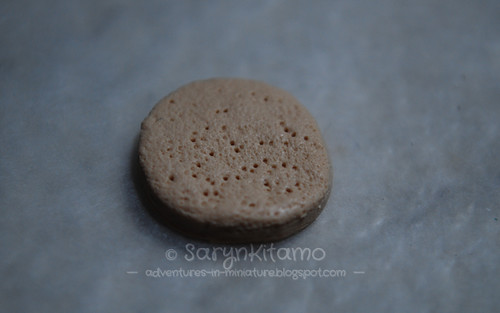
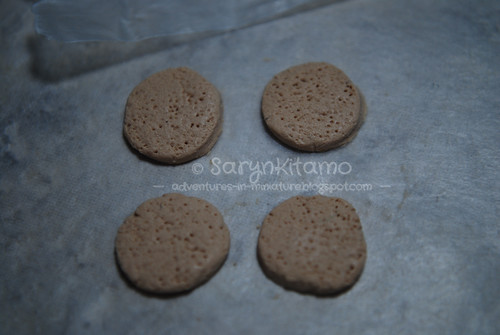
This was my... second attempt? I think so. I was having an issue getting the bobby pin to form edges I liked so I kept scrapping them. When I got down to the last of the trio I decided to try texturing it just for the heck of it.


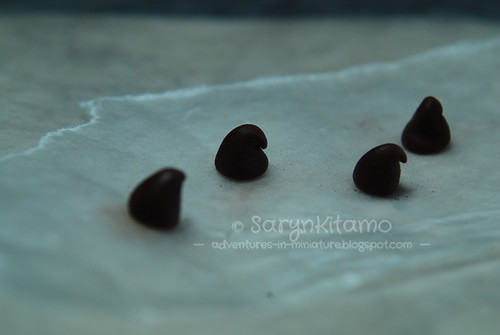
I really liked what I had! But it really didn't look all that cookie-like to me. Bread, maybe? I couldn't figure out what to do with it, so I scrapped it and moved on. I had found another tutorial, this time one for clay Hershey Kisses. So using a bit of Caramel Fimo mixed with Chocolate - straight chocolate seemed too dark - I made myself some itty bitty kisses.


Bleh. The lighting isn't very good, but I felt bad using Levels on it in Photoshop.


Then I got an idea for making cookies using my tiny chips. I'd given up on the scalloped edges, and just textured the heck out of the 'cookie'. Then I applied a little pastel.


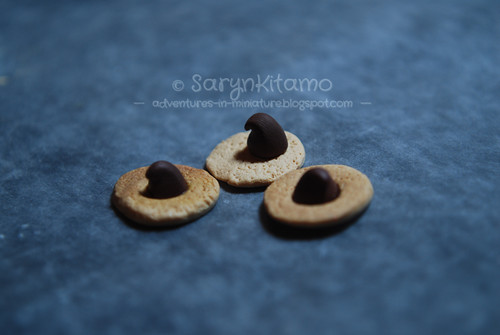
Which is when I learned it's a better idea to MIX the pastel on the wax paper and THEN apply it. -___-;; The bottom two are the results of that mistake, the top right is me learning, and the top left is un-pasteled. I've learned to keep one as a template. I baked the chips first, and then used a tiny tiny bit of Sculpey Bake & Bond on the chocolate to bond it to the unbaked cookie, pushing down lightly.


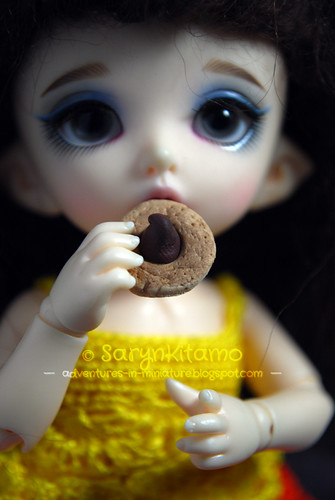
The end result! I'm nitpicky, so the cookies are a little thick and if the 'chocolates' had been baked, they should be a little meltier... I might put a little bit of gloss on the chocolate. Assuming my Pukifee, Laura, doesn't eat them first!


Thursday, 13 October 2011

All Work And No Play

I'm finally over my cold, but I haven't had a chance to work with my clay.

And I'm /still/ waiting for that order. :\

BUT I'm reasonably caught up on my other projects so I should be able to get some time in the next few days!

Wednesday, 5 October 2011

Blah.

Not feeling well today and despite knocking back a couple DayQuil, I'm not sure I'll be able to do any clay-play today. :( That rhymed. I had planned to make more poptarts tonight, and make an attempt on chocolate ones. If anyone has any suggestions on what else I should try and make, feel free to comment!
I think I'm going to try and make Tuesday-Wednesday regular update days.

I also haven't heard whether or not the order for supplies/clay I put in last week has shipped. But hopefully I'll get a reply tomorrow. Chances are I'll be waiting 1-2 weeks for it once it DOES ship, since I had to order from the States.

Saturday, 1 October 2011

Polymer Poptart (Round Two)

I decided to take another stab at making the poptarts. I had a LOT of interest from people, which surprised the hell out of me. I still don't think I'm good enough to sell them yet, but if people are that into it... maybe?

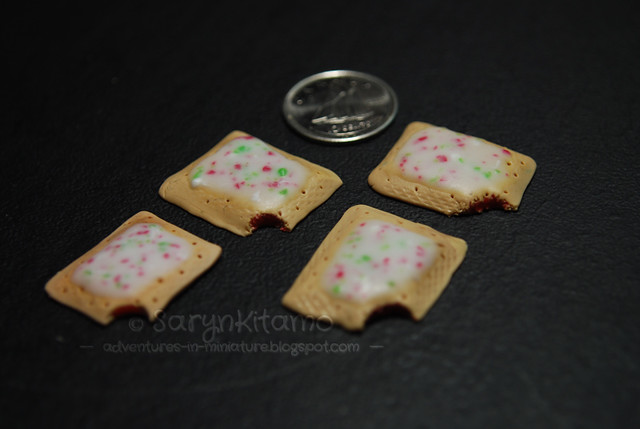
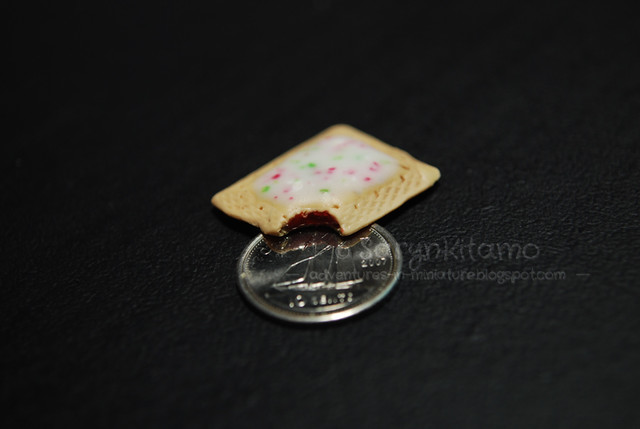
It took me about a half hour to mix the colors. I used quite a bit of white and I kept having to add a little more caramel, and I still don't think I got it dark enough. Lesson for next time, I suppose! I also forgot to brush pastel on them before baking. -___- But, using the first one as a rough template, I made 4. One I left un-iced, but I might ice it later.

This time I tried texturizing the bitemarks, which turned out really well. I also improved the color of the poptart 'filling'. Now it's less blood-like and more jam-like? I guess. ^___^


I think it took me... two hours to make these, start to finish? It should be easier once my silicone molding compound arrives. Once I get a prototype that I'm happy with, I can cut most of the work out of the process. And make more, faster. I also want to try making chocolate ones...

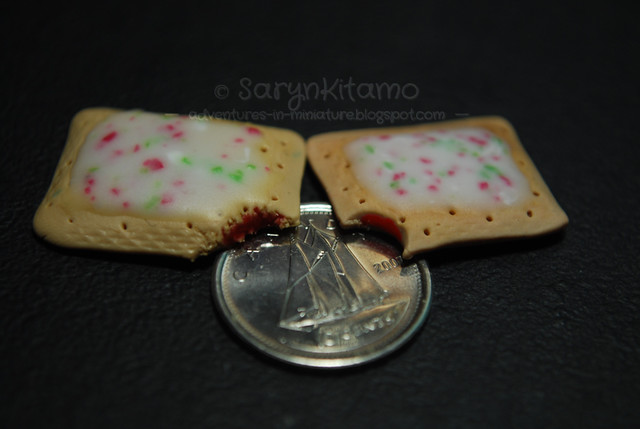
Here's a comparison of one of the new poptarts with the first one (new on the left, old on the right).